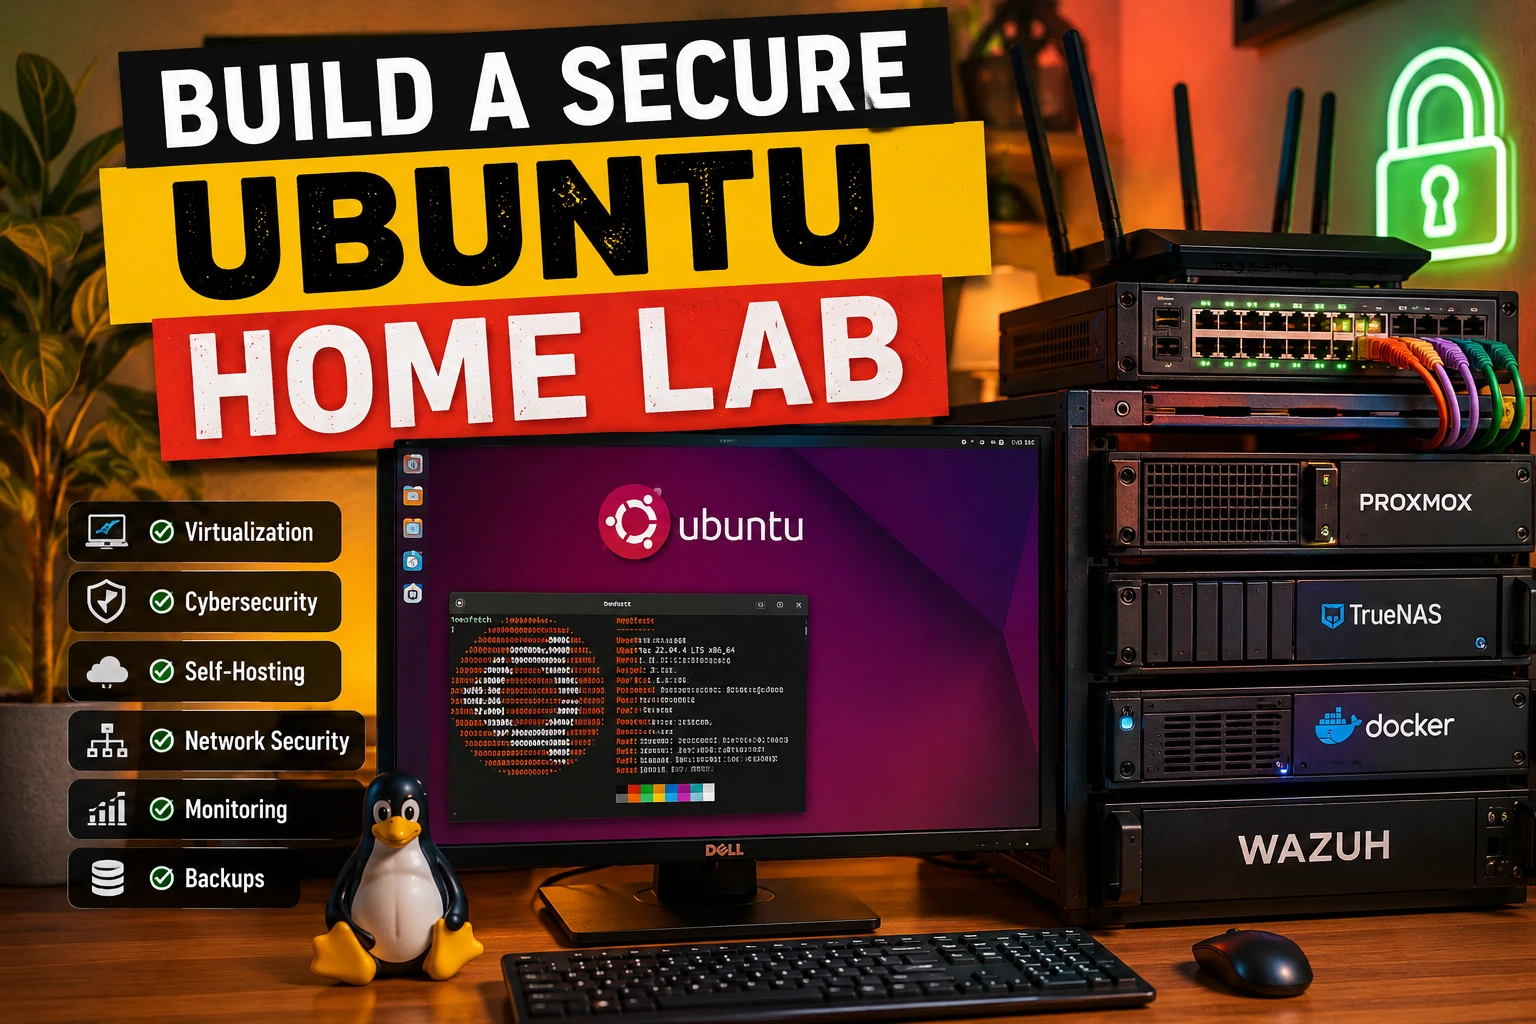
Ubuntu Home Lab for Virtualization, Cybersecurity, and Self-Hosted Infrastructure
Building a secure Ubuntu home lab is one of the smartest investments an IT learner or cybersecurity enthusiast can make. Reading documentation and watching tutorials helps, sure — but nothing replaces hands-on infrastructure experience.
That’s where home labs come in.
A properly designed Ubuntu home lab gives you a safe environment to learn Linux administration, practice cybersecurity skills, experiment with virtualization, deploy containers, host internal services, and understand how enterprise systems actually work behind the scenes.
And honestly, the barrier to entry is lower than most people think.
You don’t need a rack full of enterprise servers or a massive networking budget. Many solid Ubuntu labs start with an old desktop, a mini PC, or even a refurbished business workstation.
The real challenge isn’t buying hardware.
It’s building the lab securely.
A lot of beginners accidentally expose services to the internet, misconfigure SSH, run insecure containers, or create flat networks where one compromised machine can access everything else. That’s fine for experimentation until malware, ransomware simulations, or vulnerable VMs become part of the picture.
This guide walks through the full process of building a secure Ubuntu home lab from the ground up — including virtualization, network isolation, Linux hardening, cybersecurity environments, monitoring, and self-hosted infrastructure design.
By the end, you’ll have a practical blueprint for creating a powerful Linux lab server that’s both flexible and secure.
What Is an Ubuntu Home Lab?
An Ubuntu home lab is a personal infrastructure environment built using Ubuntu Server and related Linux technologies for learning, testing, development, cybersecurity practice, or self-hosting services.
Most home labs include:
- One or more physical servers
- Virtual machines
- Containers
- Networking equipment
- Storage systems
- Monitoring tools
- Security testing environments
Some people use home labs for:
- Learning Linux system administration
- Practicing ethical hacking
- Running Kubernetes clusters
- Testing Active Directory integrations
- Hosting media servers
- Running VPN gateways
- Building DevOps pipelines
- Experimenting with Docker and virtualization
Others use them to simulate enterprise infrastructure at home.
That’s especially useful for cybersecurity students preparing for certifications like:
- CompTIA Security+
- CySA+
- Linux+
- RHCSA
- CEH
- PNPT
- OSCP
A good cybersecurity home lab becomes a safe playground where mistakes are educational instead of catastrophic.
Why Ubuntu Server Works So Well for Home Labs
Ubuntu Server has become one of the most popular Linux distributions for home labs for several reasons.
Massive Documentation Ecosystem
One huge advantage is the amount of available documentation. Almost every Linux tutorial, Docker walkthrough, Kubernetes deployment guide, or self-hosted application setup includes Ubuntu instructions.
That matters more than people realize.
When troubleshooting virtualization issues or configuring firewall rules at 2 AM, having abundant community documentation saves time.
Stable Long-Term Support Releases
Ubuntu LTS versions provide stability for infrastructure environments.
Most serious home lab users prefer:
- Ubuntu Server 22.04 LTS
- Ubuntu Server 24.04 LTS
These releases receive long-term security updates, making them ideal for persistent lab environments.
Excellent Virtualization Compatibility
Ubuntu works well with:
- Proxmox VE
- KVM/QEMU
- VMware ESXi
- VirtualBox
- Docker
- LXC
- Kubernetes
That flexibility makes Ubuntu an excellent foundation for virtualization-heavy labs.
Enterprise Relevance
Many production environments use Ubuntu Server in cloud infrastructure, DevOps workflows, and containerized deployments.
Learning Ubuntu translates directly into real-world operational skills.
Planning Your Home Lab Infrastructure
Before installing anything, define your goals.
This step prevents wasted hardware purchases and chaotic network setups later.
Questions to Ask Before Building
What are you trying to learn?
Different goals require different architectures.
Examples:
| Goal | Infrastructure Focus |
|---|---|
| Cybersecurity practice | Isolated attack/defense networks |
| Docker and containers | Container hosts and orchestration |
| Linux administration | Multiple Ubuntu VMs |
| Cloud-native skills | Kubernetes and automation |
| Self-hosting | Storage, reverse proxies, backups |
| Networking | VLANs, routers, firewalls |
How much power do you need?
A beginner Linux lab server can run on:
- Quad-core CPU
- 16 GB RAM
- SSD storage
More advanced virtualization Ubuntu setups may require:
- 64+ GB RAM
- Multi-core CPUs
- NVMe storage
- Dedicated NAS systems
Will your lab connect to the internet?
This is a critical security question.
Internet-connected labs require:
- Proper firewall configuration
- Network segmentation
- Secure remote access
- Update management
- Intrusion prevention considerations
Never assume your router alone is enough protection.
Hardware Requirements and Recommendations
You don’t need enterprise-grade hardware to start.
In fact, many excellent Ubuntu home labs run on refurbished business systems.
Good Starter Hardware Options
Mini PCs
Popular options:
- Intel NUC
- Lenovo Tiny
- Dell OptiPlex Micro
- HP EliteDesk Mini
Benefits:
- Low power usage
- Quiet operation
- Small footprint
- Good virtualization performance
Refurbished Workstations
Older enterprise workstations often deliver incredible value.
Examples:
- Dell Precision
- HP Z-series
- Lenovo ThinkStation
These systems usually support:
- Large RAM capacities
- Multiple drives
- Virtualization extensions
Perfect for Linux lab server environments.
Storage Recommendations
Storage affects virtualization performance dramatically.
Recommended setup:
| Purpose | Recommended Storage |
|---|---|
| OS | SSD |
| VM storage | NVMe SSD |
| Backups | HDD or NAS |
| ISO storage | Secondary SSD |
Avoid running multiple VMs on slow mechanical drives if possible.
RAM Matters More Than CPU
Virtualization workloads consume memory quickly.
General guidance:
| Use Case | Recommended RAM |
|---|---|
| Beginner lab | 16 GB |
| Intermediate virtualization | 32 GB |
| Kubernetes and heavy VMs | 64 GB+ |
Choosing a Virtualization Platform
Virtualization is the backbone of most Ubuntu home lab environments.
Instead of installing multiple physical systems, virtualization allows multiple operating systems to run on one server.
Proxmox VE
Proxmox is arguably the best home lab virtualization platform today.
Why people love it:
- Free and open-source
- Web management interface
- KVM virtualization
- LXC containers
- Snapshot support
- Backup integration
- VLAN compatibility
For cybersecurity home labs, Proxmox provides incredible flexibility.
You can spin up:
- Ubuntu VMs
- Kali Linux systems
- Windows Server environments
- SIEM platforms
- Vulnerable machines
All from a single dashboard.
KVM/QEMU
KVM is built directly into Linux.
Advantages:
- Native Linux virtualization
- Strong performance
- Enterprise-grade capabilities
- Excellent Ubuntu integration
More technical users often prefer KVM for deeper Linux understanding.
Docker and Containers
Containers are lighter than full VMs.
Good for:
- Self-hosted services
- APIs
- Development stacks
- Monitoring systems
- Automation platforms
Popular services in Ubuntu home labs include:
- Pi-hole
- Grafana
- Prometheus
- Nextcloud
- Jellyfin
- Vaultwarden
Installing Ubuntu Server Securely
A secure Ubuntu home lab starts during installation.
Use Ubuntu Server Instead of Desktop
Ubuntu Server minimizes unnecessary packages and attack surface.
Advantages include:
- Lower resource usage
- Fewer exposed services
- Cleaner infrastructure design
Partition Carefully
A common layout:
| Mount Point | Purpose |
|---|---|
| / | System files |
| /home | User data |
| /var | Logs and containers |
| swap | Virtual memory |
Separating /var helps when Docker containers generate heavy logs.
Enable Automatic Security Updates
Install unattended upgrades:
sudo apt install unattended-upgrades
This reduces exposure to known vulnerabilities.
Avoid Root SSH Login
Disable direct root access immediately.
Edit:
/etc/ssh/sshd_config
Set:
PermitRootLogin no
Restart SSH:
sudo systemctl restart ssh
This single change blocks countless automated attacks.
Network Design and Segmentation
Flat networks are dangerous.
If every VM, laptop, IoT device, and vulnerable testing machine exists on the same subnet, a compromise spreads easily.
Network segmentation is one of the most important home lab security concepts.
VLANs for Isolation
Virtual LANs separate traffic logically.
Example layout:
| VLAN | Purpose |
|---|---|
| VLAN 10 | Management |
| VLAN 20 | Servers |
| VLAN 30 | IoT devices |
| VLAN 40 | Cybersecurity testing |
| VLAN 50 | Guest Wi-Fi |
This prevents unnecessary communication between environments.
Use a Dedicated Firewall
Many advanced Ubuntu home labs use:
- pfSense
- OPNsense
- MikroTik routers
Benefits include:
- VLAN management
- Traffic inspection
- VPN support
- IDS/IPS capabilities
Isolate Vulnerable Machines
If you’re practicing penetration testing:
- Never expose intentionally vulnerable VMs to the public internet
- Keep attack labs isolated
- Use NAT-only networks when possible
This avoids accidental compromise.
Securing SSH and Remote Access
SSH is one of the most targeted services in Linux environments.
Hardening it should be a top priority.
Use SSH Keys Instead of Passwords
Generate keys:
ssh-keygen -t ed25519
Copy the public key:
ssh-copy-id user@server
Disable password authentication afterward.
Inside sshd_config:
PasswordAuthentication no
Change Default SSH Port? Maybe.
Changing ports reduces automated noise but isn’t real security.
Better protections include:
- Key authentication
- Fail2Ban
- Firewall rules
- VPN-only access
Install Fail2Ban
Fail2Ban blocks repeated login attempts.
Install:
sudo apt install fail2ban
This is extremely valuable for exposed SSH services.
Use VPN Access for Remote Administration
Instead of exposing SSH publicly:
- Deploy WireGuard
- Use Tailscale
- Access infrastructure through VPN tunnels
This drastically reduces attack surface.
User Management and Linux Hardening
A secure Linux lab server requires proper privilege separation.
Avoid Using Root Daily
Use sudo privileges instead.
Example:
sudo usermod -aG sudo username
Enable UFW Firewall
Ubuntu includes UFW by default.
Basic setup:
sudo ufw default deny incoming
sudo ufw allow ssh
sudo ufw enable
Simple but effective.
Remove Unnecessary Services
Check listening ports:
ss -tulnp
Disable unused services.
Less software means fewer vulnerabilities.
Use AppArmor
Ubuntu includes AppArmor for application confinement.
Many users ignore it, but it adds meaningful security layers.
Check profiles:
sudo aa-status
Setting Up Virtual Machines and Containers
This is where the lab becomes interesting.
Recommended Starter VMs
A strong beginner Ubuntu home lab often includes:
| VM | Purpose |
|---|---|
| Ubuntu Server | Linux administration |
| Kali Linux | Security testing |
| Windows Server | Active Directory |
| SIEM platform | Logging and detection |
| Docker host | Containers |
| Monitoring server | Metrics and alerts |
Container Best Practices
Avoid running every container with:
--privileged
That weakens isolation significantly.
Instead:
- Limit permissions
- Use separate Docker networks
- Keep containers updated
- Avoid unknown images
Learn Docker Compose
Docker Compose simplifies service management.
Example services:
- Reverse proxy
- Database
- Monitoring stack
- Media applications
- Internal dashboards
Building a Cybersecurity Practice Environment
This is where Ubuntu home labs become incredibly valuable.
Safe Offensive Security Practice
You can build:
- Internal attack ranges
- Malware analysis labs
- Vulnerability testing environments
- SIEM detection platforms
Recommended Cybersecurity Tools
Security Monitoring
Popular tools:
- Wazuh
- Security Onion
- Suricata
- Zeek
Vulnerable Systems for Practice
Use intentionally vulnerable environments like:
- Metasploitable
- OWASP Broken Web Apps
- DVWA
- VulnHub machines
Again — isolate them carefully.
Simulating Enterprise Networks
Advanced users build:
- Active Directory domains
- Linux authentication systems
- Centralized logging
- Endpoint monitoring
- Attack simulation environments
This develops practical blue-team and red-team skills.
Self-Hosting Services Safely
Self-hosting is one of the most rewarding parts of a Linux lab server setup.
But security matters.
Common Self-Hosted Services
Popular choices include:
| Service | Purpose |
|---|---|
| Nextcloud | Private cloud storage |
| Jellyfin | Media streaming |
| Home Assistant | Smart home automation |
| Vaultwarden | Password management |
| Grafana | Metrics dashboards |
| Pi-hole | DNS filtering |
Use Reverse Proxies Carefully
Reverse proxies like:
- NGINX
- Traefik
- Caddy
help centralize HTTPS management.
But poorly configured reverse proxies can expose internal services unintentionally.
Use HTTPS Everywhere
Even inside home labs.
Use:
- Let’s Encrypt
- Internal certificate authorities
- Self-signed certs for isolated environments
Encrypted management traffic matters.
Backup and Disaster Recovery Strategies
People often skip backups in home labs.
Until disaster hits.
Follow the 3-2-1 Rule
Keep:
- 3 copies of data
- 2 storage types
- 1 offsite backup
Snapshot Virtual Machines
Snapshots help during:
- Malware testing
- Configuration experiments
- System upgrades
Proxmox snapshots are especially useful.
Backup Configuration Files
Critical directories:
/etc
/home
/var/lib/docker
Infrastructure-as-code tools like Ansible also help rebuild systems quickly.
Monitoring and Logging Your Lab
Observability matters even in small labs.
Monitor System Health
Useful metrics include:
- CPU usage
- Memory consumption
- Disk health
- Network traffic
- Container status
Popular Monitoring Tools
Grafana
Excellent dashboards.
Prometheus
Metrics collection.
Netdata
Simple real-time monitoring.
Uptime Kuma
Service uptime monitoring.
Centralized Logging
Logs help diagnose:
- Security events
- Service failures
- Authentication attempts
- Resource exhaustion
Centralized logging platforms are excellent learning tools.
Common Mistakes to Avoid
Exposing Everything to the Internet
One of the biggest beginner mistakes.
Avoid forwarding ports unnecessarily.
Using Weak Passwords
Especially on:
- SSH
- Web dashboards
- Hypervisors
- NAS systems
Ignoring Updates
Outdated infrastructure becomes vulnerable quickly.
No Network Segmentation
Cybersecurity labs should never share unrestricted access with personal devices.
Running Everything as Root
This increases damage potential dramatically.
Scaling Your Ubuntu Home Lab
Eventually, many users outgrow their first server.
Add Dedicated Storage
NAS systems improve:
- VM storage
- Media hosting
- Backup reliability
Build Multi-Node Clusters
Advanced setups may include:
- Kubernetes clusters
- Proxmox clusters
- High availability systems
Learn Infrastructure Automation
Automation skills are hugely valuable.
Popular tools:
- Ansible
- Terraform
- GitOps workflows
This is where home labs start resembling enterprise infrastructure.
Ubuntu Home Lab Use Cases
The beauty of Ubuntu home labs is flexibility.
IT Career Development
Hands-on experience helps immensely during interviews.
Real operational knowledge stands out.
Cybersecurity Skill Building
Practical detection and exploitation skills require safe environments.
DevOps Practice
Learn:
- CI/CD
- Containers
- Orchestration
- Infrastructure automation
Privacy and Self-Hosting
Reduce reliance on third-party cloud platforms.
Learning Enterprise Networking
Routing, VLANs, DNS, VPNs, and firewalling become much easier when practiced directly.
FAQ
How much does an Ubuntu home lab cost?
A beginner setup can cost under $200 using refurbished hardware. Advanced virtualization environments may cost significantly more depending on storage and memory requirements.
Is Ubuntu Server better than Ubuntu Desktop for home labs?
Usually yes. Ubuntu Server has fewer unnecessary packages, lower resource usage, and a smaller attack surface.
Do I need virtualization for a home lab?
Not strictly, but virtualization makes labs dramatically more flexible and cost-effective.
Is Proxmox better than VMware for home labs?
For many users, yes. Proxmox is free, open-source, and extremely capable for virtualization Ubuntu environments.
Can I run a cybersecurity home lab safely at home?
Yes, if properly isolated using VLANs, firewalls, NAT networks, and secure access controls.
What’s the biggest security mistake beginners make?
Exposing services directly to the internet without proper hardening or segmentation.
Should I use Docker or virtual machines?
Both have value.
Use containers for lightweight services and VMs for full operating system isolation or security testing.
How much RAM do I need for virtualization?
16 GB works for beginners, but 32 GB or more provides a much better experience.
Conclusion
A secure Ubuntu home lab is more than just a hobby project.
It’s a real-world infrastructure training platform.
You learn Linux administration, networking, virtualization, cybersecurity, automation, monitoring, and self-hosted infrastructure design in ways that tutorials alone can’t teach.
The key is building it thoughtfully.
Start small. Segment networks properly. Harden systems early. Use virtualization intelligently. Monitor everything. Backup consistently.
Over time, your Ubuntu home lab can evolve from a single server into a highly capable learning environment that mirrors professional infrastructure surprisingly closely.
And that experience compounds fast.