I Finally Tried the Alacritty Terminal And It May Replace Kitty for Me

It’s been nearly five years since Alacritty made its debut and became a favorite of many power terminal users.
By power users, I mean people who configure Vi mode everywhere, even in graphical IDE.
Personally, I prefer Kitty and I have written some tutorials on Kitty. But whenever we share our Kitty articles, someone would mention Alacritty. And that kind of forced me to try Alacritty.
But this article is not about comparing Kitty and Alacritty. It’s merely me sharing my experience and exploration of Alacritty.
What is Alacritty?
Alacritty is a modern terminal emulator designed with a strong focus on performance. It is a GPU-accelerated terminal that uses OpenGL technology to offload rendering tasks entirely to your graphics processor rather than relying heavily on the CPU. Out of the box, Alacritty comes with a decent set of defaults. Which seems to be true as you really don’t need to do much to make this terminal work right away.
Exploring Alacritty
Alacritty comes with several ‘cool features’ that will elevate your terminal workflow. These are Vi mode, scrollback buffer search, regex hints and multi-window approach.
📋
The Alacritty interface you see in the videos and screenshots here are slightly modified by me. I have shared my tweaking and configuration changes in the later section of this article.
Scrollback navigation with keyboard
Alacritty features a built-in Vi mode, which you can easily access using the keyboard shortcut Ctrl + Shift + Space.
Vi Mode in Alacritty
Once you are in this mode, you can move around your scrollback buffer using standard Vi navigation keys. This means you don’t need to reach for your mouse at all just to scroll through your text, keeping your hands exactly where they belong on the keyboard.
Text selection
The Vi mode can do several types of selection and copy text entirely with keyboard shortcuts.
When you are in Vi mode, pressing Alt + v enables semantic selection, which is the one I use most often. Semantic selection is a smart feature that lets you select distinct words or semantic blocks of text based on specific characters acting as boundaries.
Semantic Select
If you want to perform a standard manual selection, simply press v to start selecting from the cursor, then move the cursor in any direction to select your text.
Normal Select
Now, instead of lowercase v, if you press Shift + v, a line selection mode is enabled, allowing you to quickly select entire lines of text at once.
Line Select
Searching inside terminal
When you have a lot of output in your terminal scrollback and need to track something down, Alacritty has built-in search functions. You can press Ctrl + Shift + F to start a forward search.
Forward Search
Or Ctrl + Shift + B to initiate a backward search.
Backward Search
Once you type your query, you can press Enter to jump between the matches sequentially.
Alternatively, if you are already inside the Vi mode, you can simply press / and type your search term directly.
Search inside Vi Mode
I personally use the Vi mode search because it gives me extra flexibility. It allows me to semantic-select/line-select the entire matched term even when only a partial match is found.
☠️
Don’t judge me for using light themed terminal 😸
Moving between brackets
A feature I love while reading configuration files is bracket matching. I usually print the file to the terminal and jump straight into Vi mode.
Once there, you can place your cursor on top of any bracket and press %. This will instantly jump your cursor to the matching opening or closing bracket.
Matching brackets
At times, this is much more handy than opening the file up in a separate text editor. Especially when I am using it with the Zellij terminal multiplexer.
Configuring Alacritty
Alacritty does not need any user configuration to work properly and access its important features, as it comes right out of the box with some highly sensible defaults.
Still, there are plenty of areas that we can customize to tweak it to perfection. Here, I will take you through some of the options that I personally changed in my Alacritty setup.
I have also shared these config changes on our GitHub repo for your ease.
Splitting the configuration
Creating a single configuration file for all your features seems easy at first. However, if a tool supports multiple configuration files and imports, it is always a better practice to divide the config into relevant, modular parts.
Doing this will give you a much easier editing experience later when you need to tweak specific behaviors.
For Alacritty, all configuration files should be located in the ~/.config/alacritty/ directory. The directory structure in my system looks like this:
├── alacritty.toml
├── keybindings
│   └── keybindings.toml
└── themes
    ├── ansi.toml
    ├── catppuccin-mocha.toml
    ├── cocoa-dark.toml
    ├── cream-light.toml
    ├── dracula.toml
    ├── dusk-dark.toml
    ├── fog-light.toml
You can see that I have split the configuration files into separate items for:
- Main config:
alacritty.toml - Keybindings:
keybindings/keybindings.toml - Themes:
themes.toml
Now, once you have all your configuration files split up, you need to import the other configs into your main file alacritty.toml so that Alacritty can actually read them.
Open up your alacritty.toml file in a text editor and add the import lines to the top of your file using the import array under the [general] section:
[general]
import = [
  "~/.config/alacritty/keybindings/keybindings.toml",
  "~/.config/alacritty/themes/lavender-fields-light.toml"
]
Change the font
To change font in Alacritty, in the config file, add the following lines:
[font]
size = 12

[font.normal]
family = "JetBrains Mono"
style = "Regular"

[font.bold]
family = "JetBrains Mono"
style = "Bold"

[font.italic]
family = "JetBrains Mono"
style = "Italic"

[font.bold_italic]
family = "JetBrains Mono"
style = "Bold Italic"
The above configuration is self-explanatory. Of course, any font you want to appear in your terminal must actually be installed on your system first.
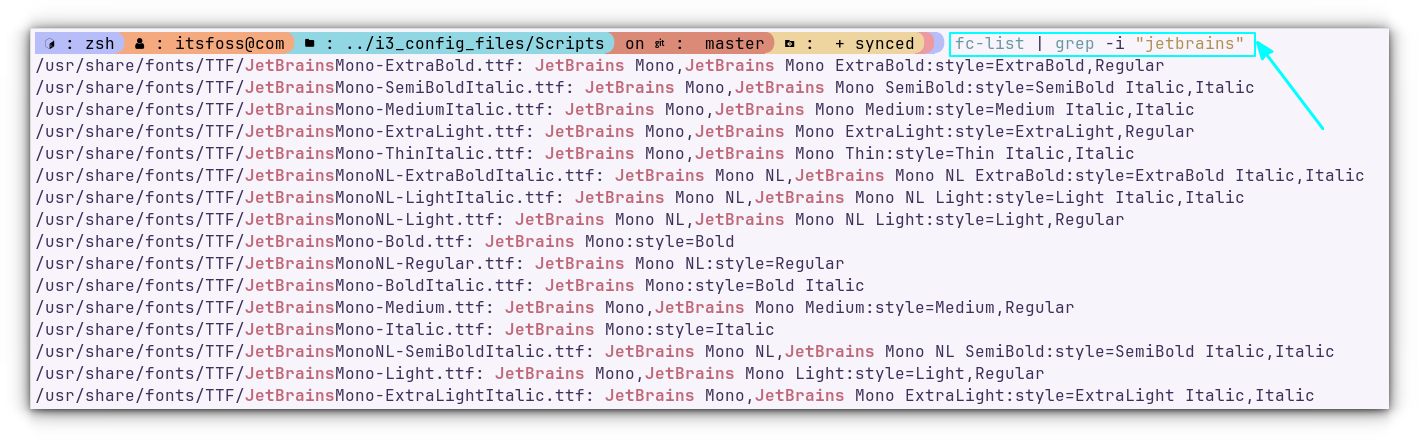
To find the exact name of the font you want to use, you can either open up a font-manager GUI application, or query your system via the command line using fc-list and filtering for your desired font family:
fc-list | grep "jetbrains"
Set scrollback history
We have already seen some great features relating to scrollback navigation, selection, and searching. To make these features truly efficient, you need a comparatively large scrollback buffer so you don’t lose your terminal history too quickly.
In your main Alacritty configuration file, you can set this by adding the following lines:
[scrolling]
history = 10000
I would suggest caution when increasing this value much beyond 10000. Because this scrollback history is stored directly in your RAM, a massive scrollback buffer can negatively affect your system performance.
Especially when you accidentally dump a massive log file or print exceptionally long files directly to the terminal.
Change the shell
Most Linux distributions come with Bash as the default shell, and sometimes you may want to use an alternative shell like Zsh.
You don’t actually need to change your entire system-wide default shell just for this. You can simply change the shell executed inside Alacritty itself.
To do this, add the following lines to your main alacritty.toml file:
[terminal]
shell = "/usr/bin/zsh"
To know the shell location, use:
which zshOpacity and blur
Alacritty allows you to change the terminal window opacity across all desktop environments, and it even lets you add a native blur effect if you are running a KDE Plasma Wayland session.
To configure this, add the following lines under the [window] section of your configuration:
opacity = 1.0
blur = true  # enable this for KDE Plasma to get blur
Keybindings
The best way to manage custom shortcuts is by adding them via a separate keybindings.toml file and importing it into your main configuration, as we looked at earlier.
In this file, you can define keybindings using the following syntax:
[[keyboard.bindings]]
key = "C"
mods = "Control|Shift"
mode = "Vi"
action = "ClearSelection"
Here, [[keyboard.bindings]] defines the section. For every new keybinding you want to map, a separate [[keyboard.bindings]] section must be used.
Inside this section, you have a few core parameters to customize:
- key: The main key used to perform the action (e.g.,
A, B, 2, 3, |, /). - mods: The modifier keys required for the shortcut. You can use keys like Control, Shift, Alt, or Super. To combine multiple modifiers, separate them with a pipe symbol (
|)—for example,Control|Shifttriggers on a Ctrl + Shift action. - mode: Defines a specific terminal state (such as Vi mode) that must actively be running for this shortcut to take effect.
- action: The actual command or event you want to perform. You can find a complete action reference list directly in the official documentation.
Mouse bindings
With Alacritty, you can customize how various mouse buttons behave inside your terminal. The general syntax looks like this:
[[mouse.bindings]]
mouse = "Forward"
action = "ToggleViMode"

[[mouse.bindings]]
mouse = "Back"
action = "CreateNewWindow"
Just like keyboard configurations, the [[mouse.bindings]] headers must be separate sections for each distinct mouse shortcut. Inside each section, you define:
- mouse: The specific mouse button you want to map. Options include Right, Left, Middle, Forward, Back, WheelUp, and WheelDown.
- action: The command you want to perform. This uses the exact same action references as the keyboard bindings.
For instance, I have an 8-button mouse, so I added the Forward button to quickly toggle into Vi mode, and the Back button to instantaneously open a fresh Alacritty window.
Color schemes
Alacritty allows you to completely alter the appearance of your terminal using custom color configurations.
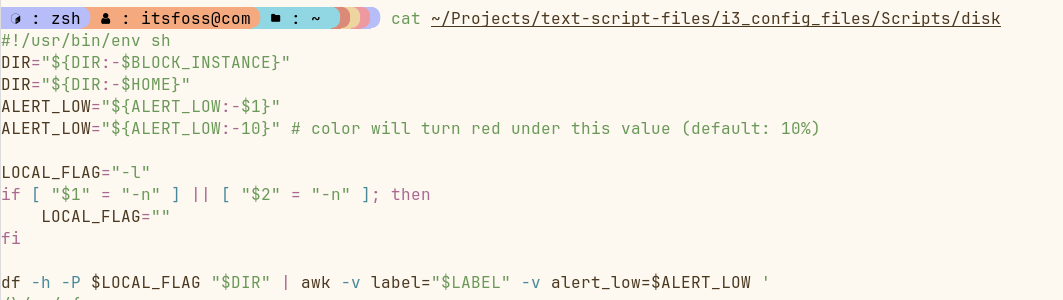
Out of the box, it expects you to modify the hex color values for various display elements manually. If you don’t want to build a palette from scratch, you can visit our GitHub repository to grab several preset color schemes for Alacritty.
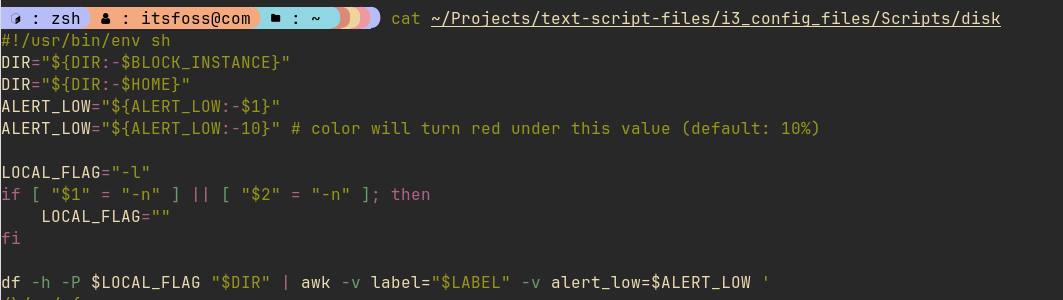
Alacritty color schemes
Once you find a theme you like, you can drop it into your ~/.config/alacritty/themes/ directory, import it into your main config, or tweak the individual color blocks within that file to customize the look entirely to your liking.
Installing Alacritty
Alacritty is available in the default repositories of most popular distributions. If you are using Ubuntu, install it using the apt package manager:
sudo apt install alacritty
Fedora users can install it using the DNF package manager:
sudo dnf install alacritty
For Arch Linux users, install Alacritty from the extra repository using the command:
sudo pacman -S alacritty
Wrapping Up
One thing to note is that, as far as I know, Alacritty does not support viewing images natively from the terminal, though there is some Sixel image support development floating around.
Personally, I don’t care much about image support because I am not working on images from the terminal anyway. But if that is an absolute requirement for your workflow, you may feel a bit disappointed.
There are exciting new terminal emulators like Ghostty and Ptyxis these days, and I have given them a try for a while. Now, I have been using Alacritty for the past couple of months as my main terminal, paired with Zellij multiplexer. I like this setup. It may make me forget Kitty, who knows.
What’s your take on Alacritty? Do you use it as your main terminal emulator? If not, which one is your favorite? Do mention it in the comments below!
If this helped you, consider supporting It’s FOSS
It’s FOSS has been helping people use Linux for the past 14 years. Help us stay independent from big tech. Become a Plus member, enjoy ad-free reading and get 5 eBooks.